Did you know: The little room that guests enter before reaching the main portion of your home is actually a genius design device?!
The entry, also called a foyer, allows both you and guests a visual pause before being greeted by the depth and breadth of your home. May it be tiny, its impact is mighty.
We knew these ongoing clients wanted to make their foyer look stunning. And when we are given a big blank slate, like this room with tons of potential, we’re eager to get started.
The Backstory
Our clients fairly recently moved from a small home in the Bay Area to a lovely custom home in Ripon, CA. We first designed their bedroom and home office at the beginning of the year and were impressed with the details in the construction.
They had never hired an interior designer and I think they were a little apprehensive, but after complete satisfaction with the master bedroom, they are trusting us to decorate the rest of the house.
With that said, we knew we had to start by setting some goals.
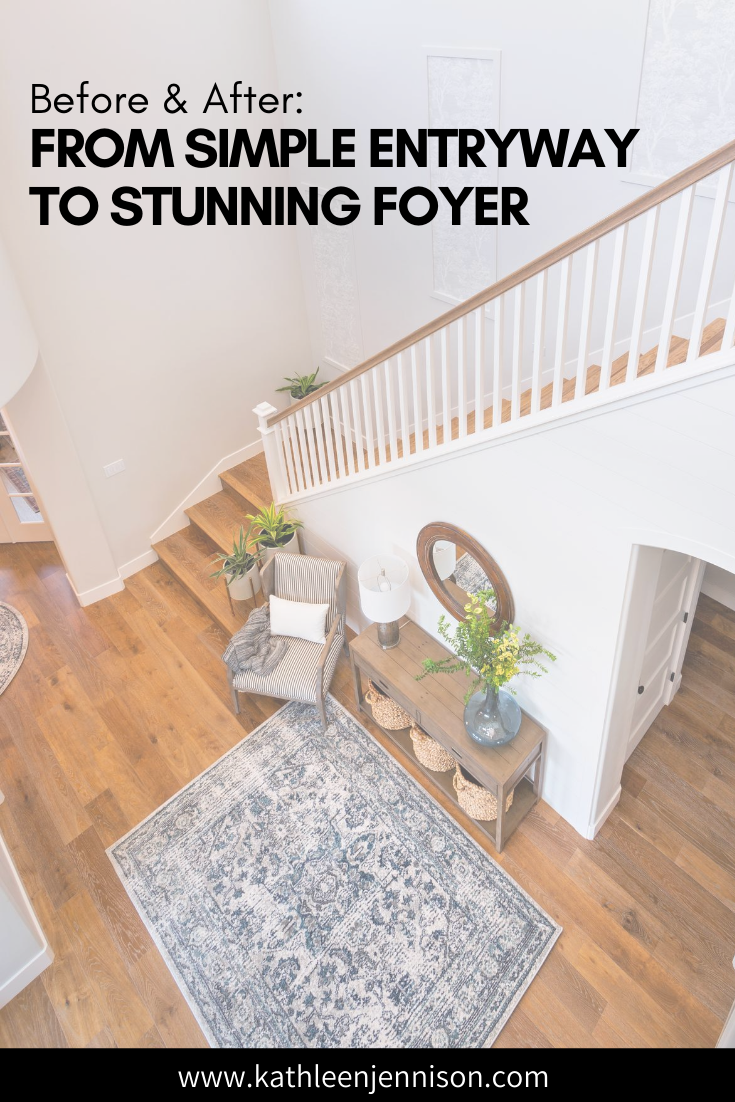
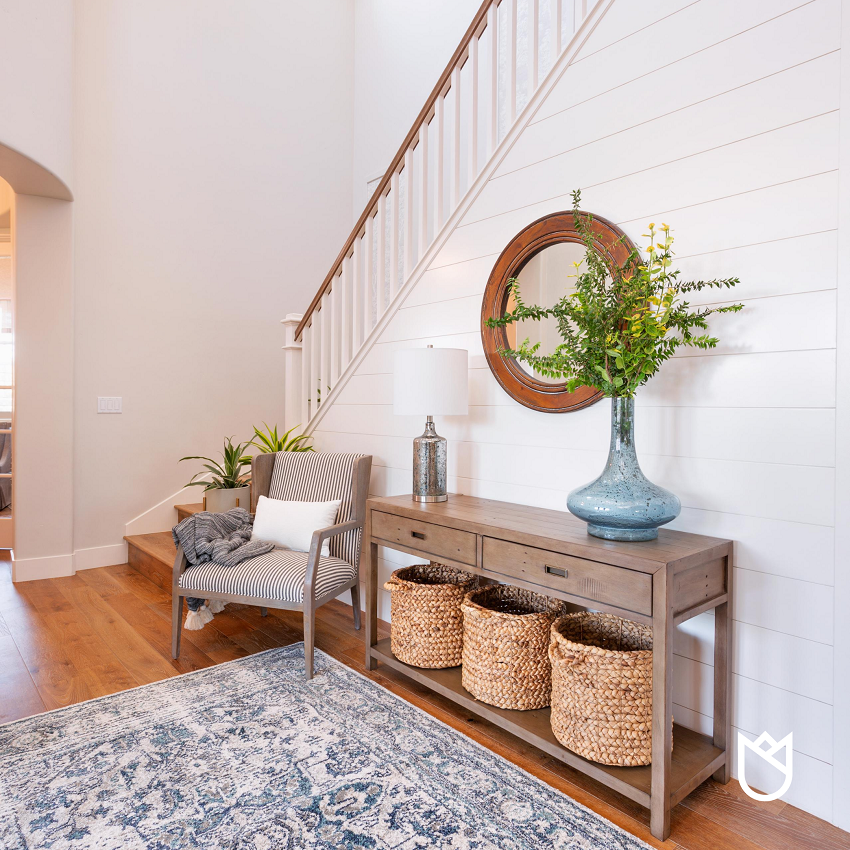
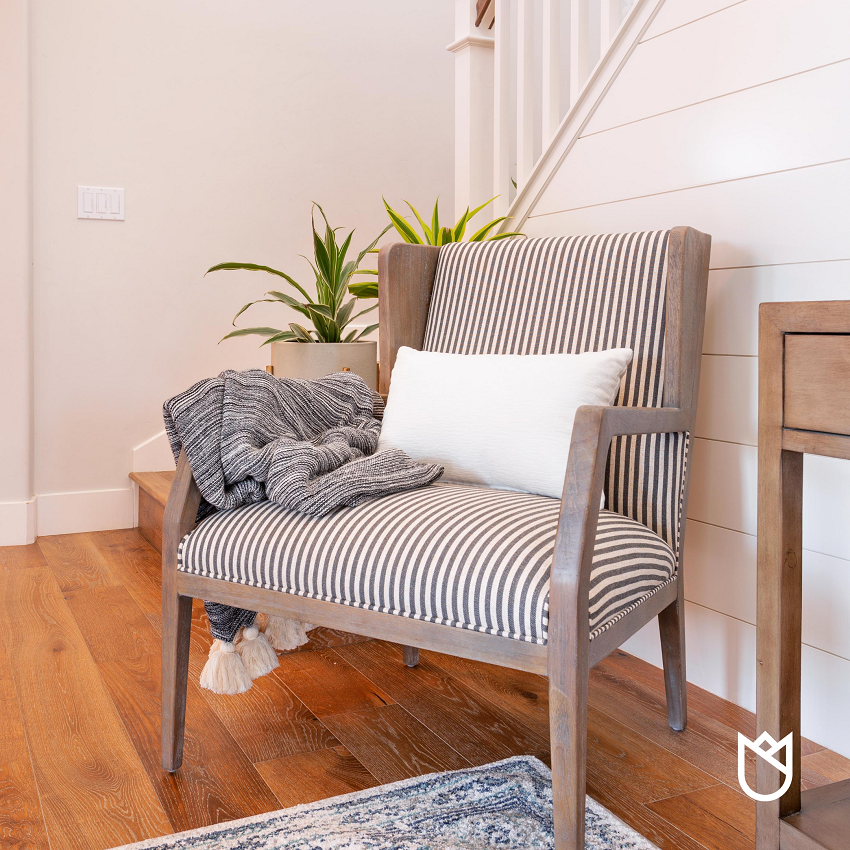
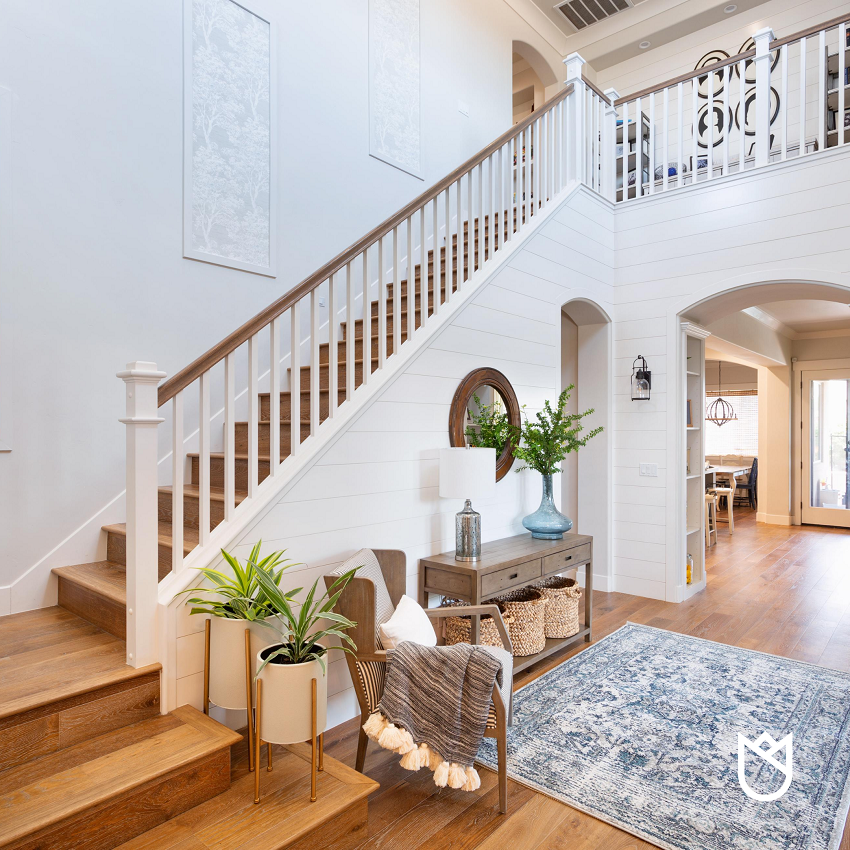
They asked for seating to put shoes on, a place to tuck away guests’ shoes (no shoes in the house), exquisite decor along the tall wall going up the stairs, rugs, and decorations.
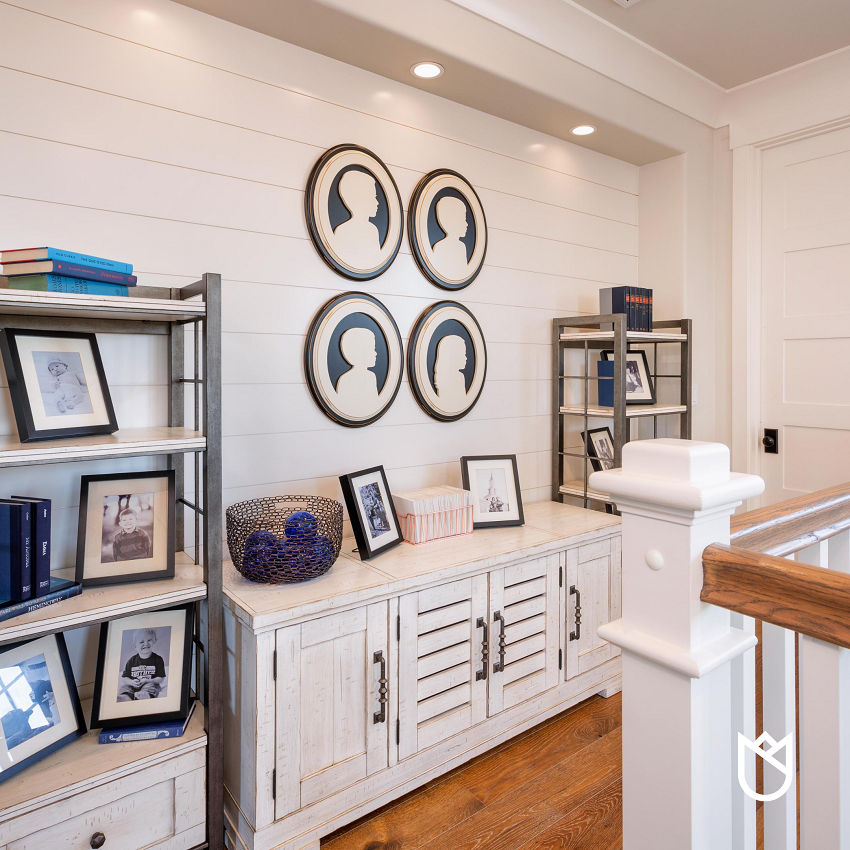
Since this top of the stairs has a wide landing with a small alcove, it was apparent the design of that space should go hand-in-hand with the foyer.
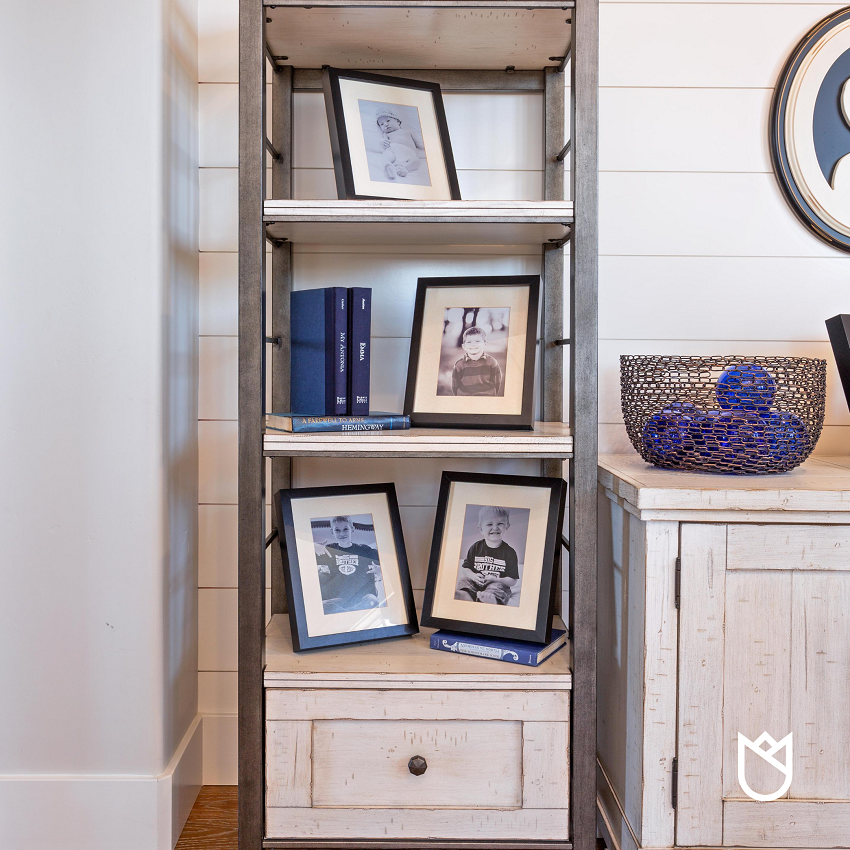
Their design dilemma was the tall ceiling (20 ft. at one side), the landing, and the tiny alcove. They were struggling with envisioning what could go in each area. The landing is wide, but the narrow alcove was puzzling to them. They have lovely silhouettes of each of their four children they wanted to use. They are wonderful wood carvings that we became excited to incorporate.
The Process
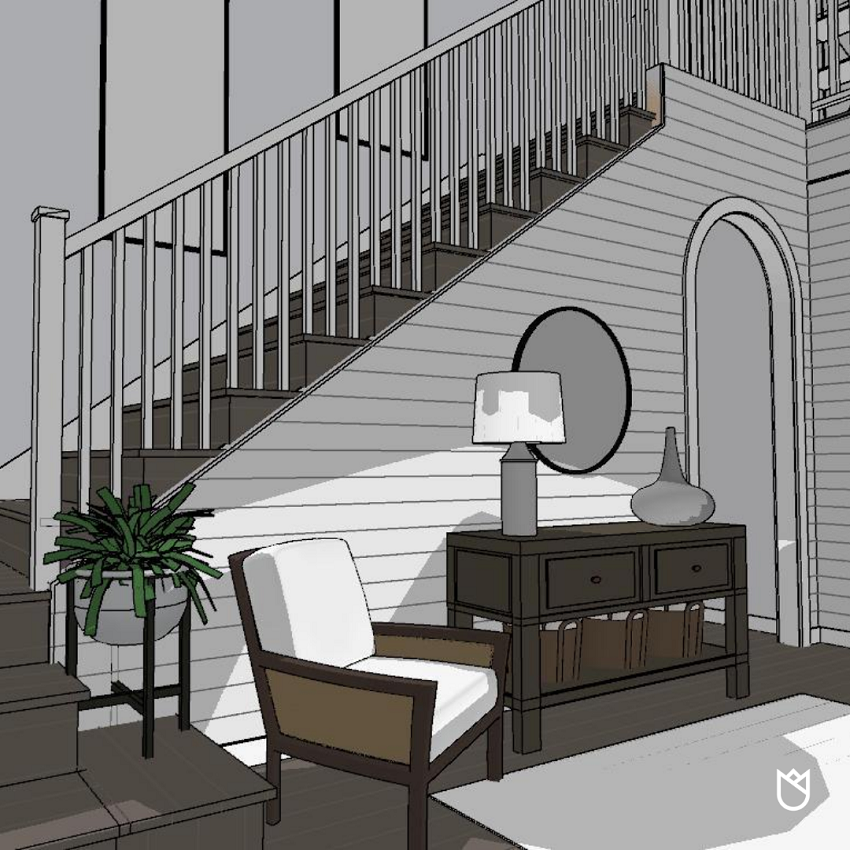
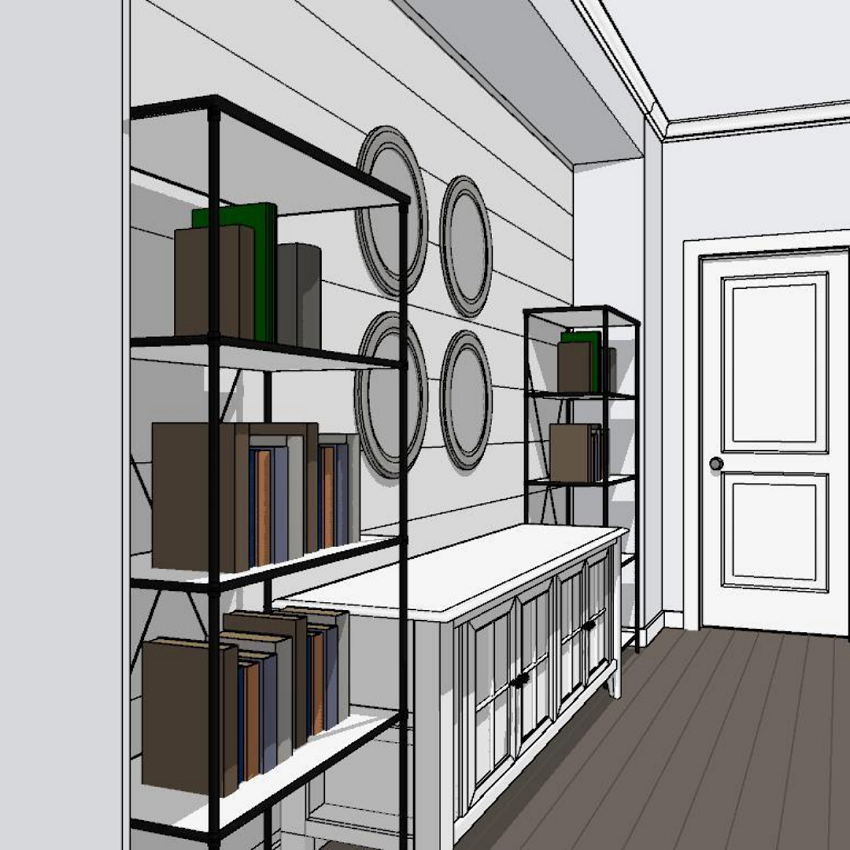
Our first step with every project is to measure and draft the space in our CAD software. This allows us to make sure whatever we select will fit in the space.
The only problem – the entire state is under strict Stay-At-Home orders!
So, we found a workaround and gave our clients written instructions and illustrations to measure and photograph the space. It was a little tricky and we had a few follow-up requests for measurements, but all-in-all it went well.
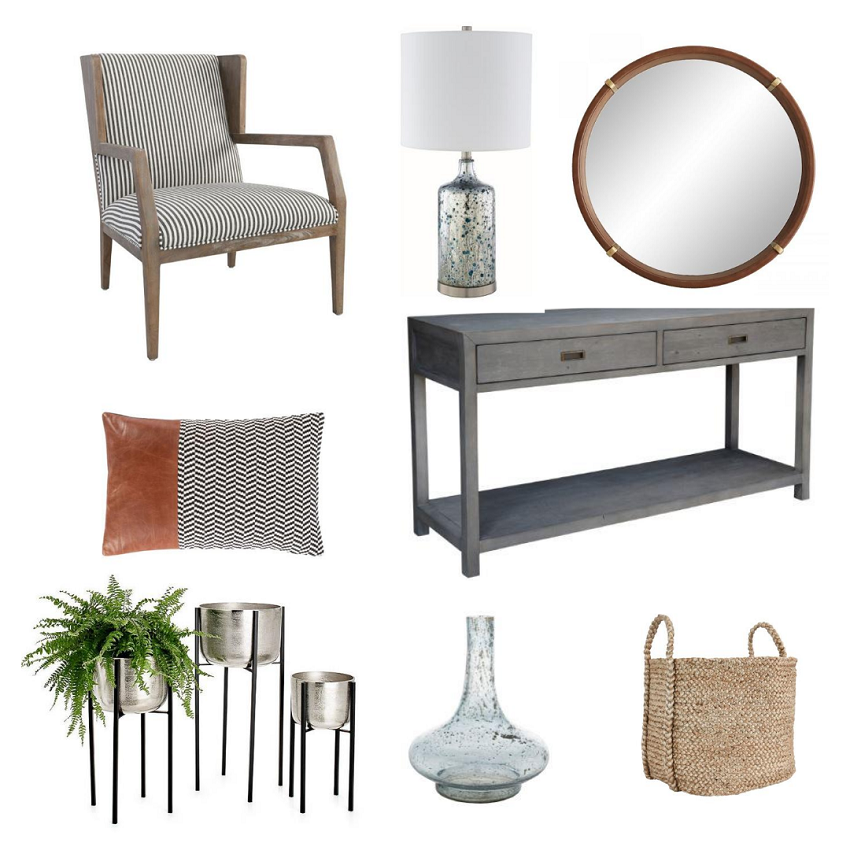
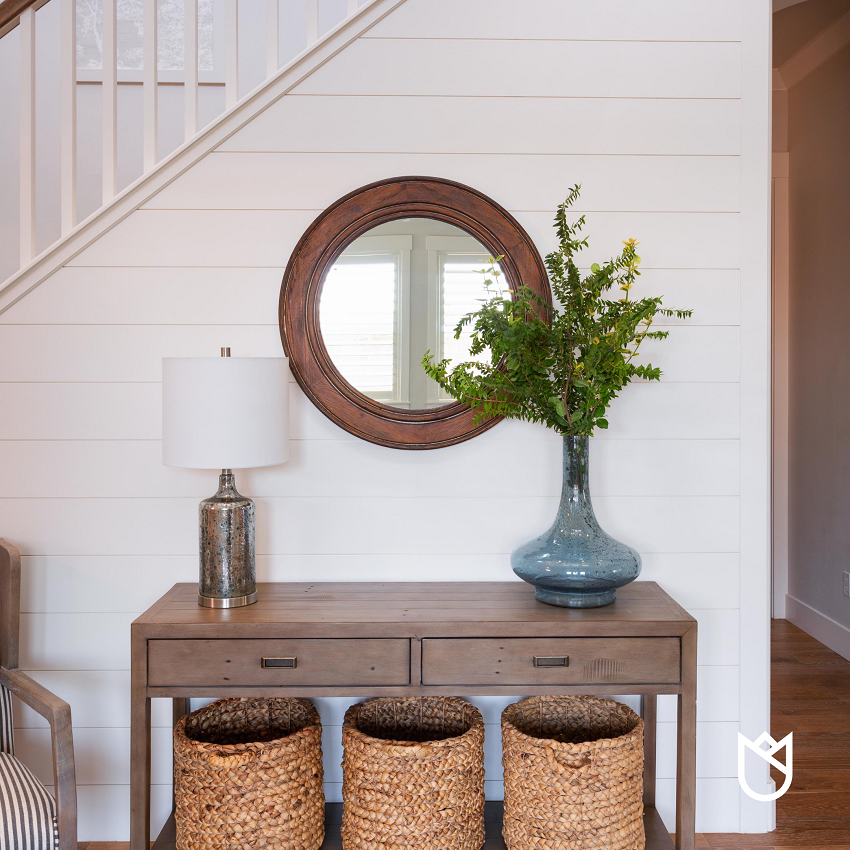
We then made a list of items that needed to go into a foyer, including: a chair, rug, console, mirror, wall decor, bookcases, lighting, and foliage.
Next, we prepared our design, presented it to our clients, and got their approval.
We gathered all the samples that we normally show our clients in our conference room, boxed them up, and dropped them off at their doorstep. We left a sign on top “Do Not Open Until Day of Phone Call!”
At our scheduled Virtual Call, we had them open the box and went over each item one-by-one. I shared my computer screen with the floor plan, Style Guides, and Pricing Proposals, explaining all the details as we normally do.
After the meeting, we sent them copies of all the reports.
We met again (virtually) a few days later to follow up on their thoughts. They weren’t too sure about the landing, but I assured them it would look great and even agreed to take it all back after installation if they didn’t like – that’s how confident I was that it would be fantastic.
The After Reveal
By the time all the product arrived, the strict Stay-At-Home mandates had been relaxed and we had our normal installation day – but the family had to stay on the patio (it was ok because they spent the day around the pool) while we and the movers (wearing face masks, booties, and gloves, of course) loaded in all the furniture, hung the wallpaper, artwork, styled the whole area, and professionally photographed the foyer and landing.
The Transformation
The final reveal was conducted with proper social distancing. I think they fell in love with it right away, because they asked us to start on the Music Room and Kids Loft immediately!
And oh, I didn’t have to take any items back! (wink, wink)
Thank you for joining me on this project creation. I hope this renovation sparks your own imagination and inspires ideas for your best living.
What was your favorite part of this transformation? We’d love to hear in the comments below!
Until next time,





Impact Windows Fort Lauderdale
| 25 May 2023Yes, this is a good post without any doubts. You really doing a great Job. I inspired from you. So keep it up!!
Kathleen Jennison
| 28 May 2023Thank you so much for the kind words! I’m glad to hear that my post has inspired you. I always strive to create content of the highest quality, so it means a lot to know that my work is appreciated. Keep following my blog and I look forward to bringing more inspiring content in the future. 🙂